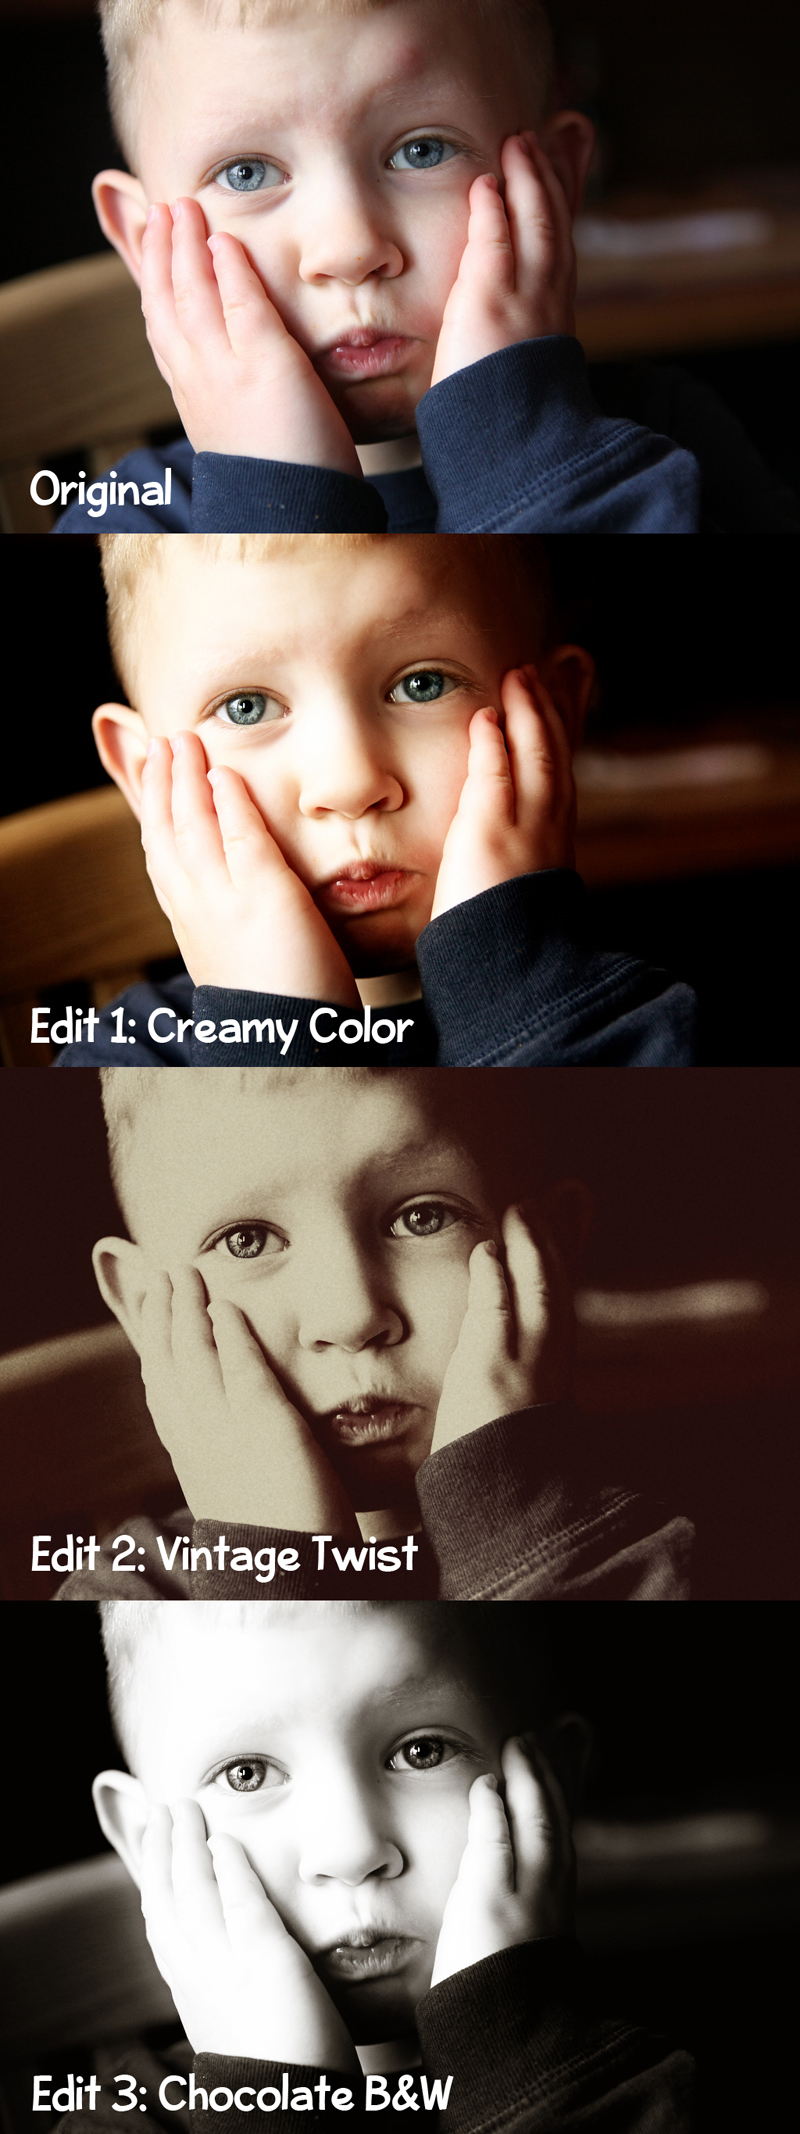
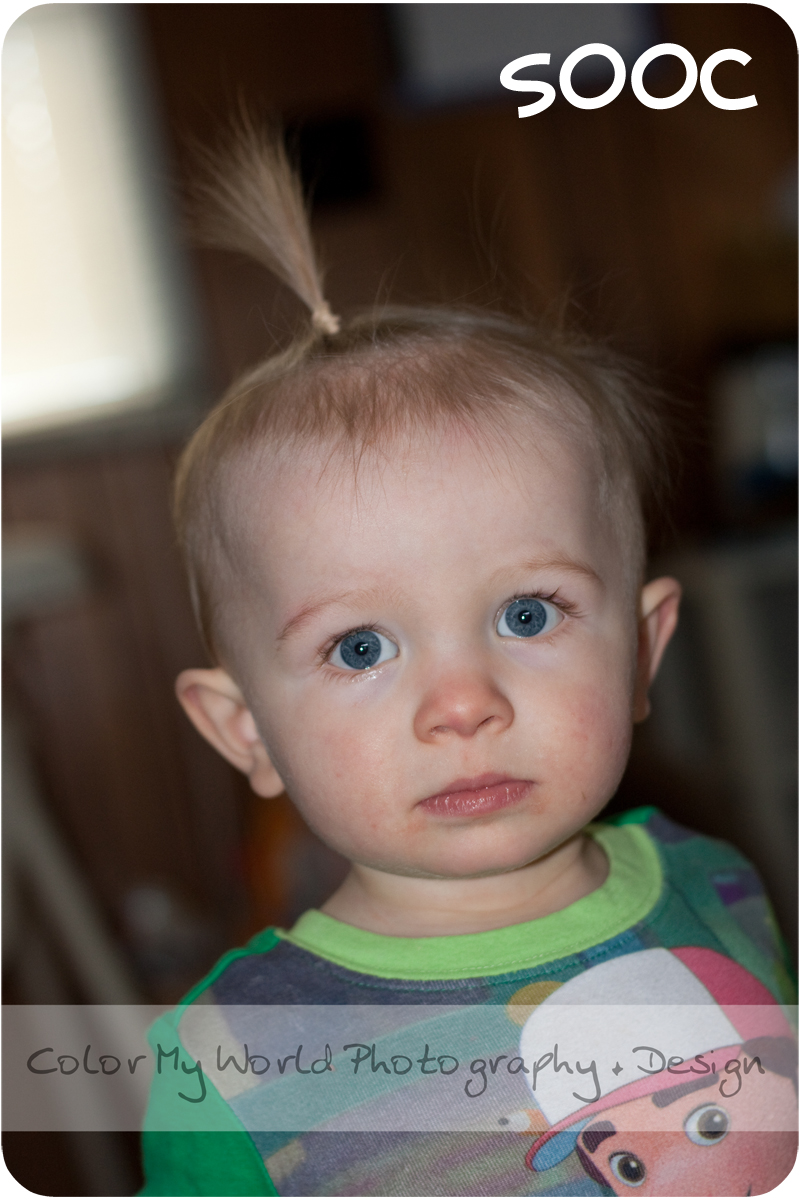
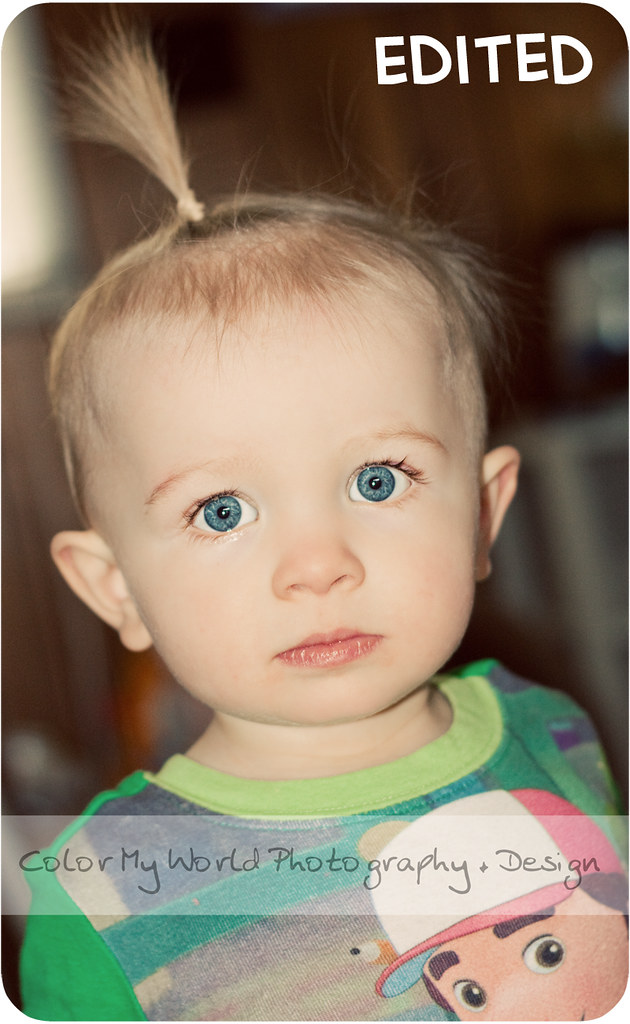
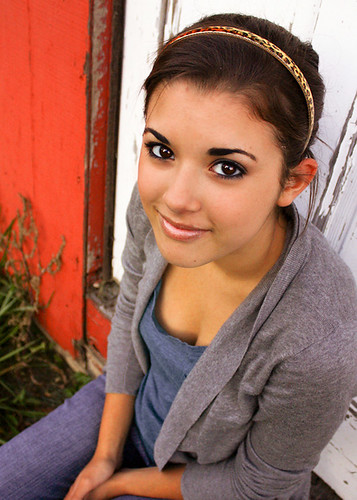
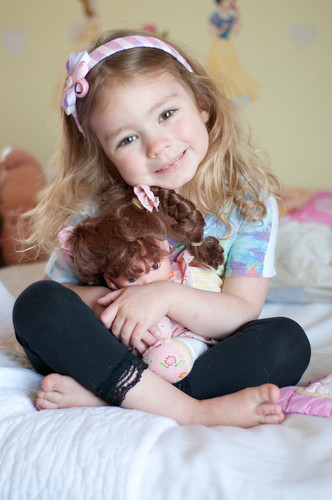
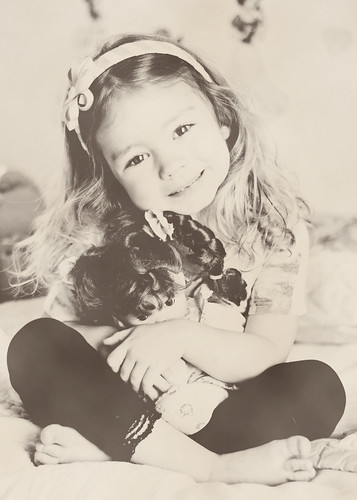
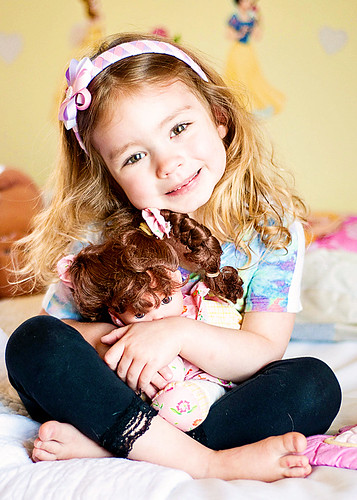
Showing posts with label Before-After. Show all posts

Saturday, August 7, 2010

Fix-it-Friday [Aug 7th]

Another fix it friday (a day behind). Usually I try something new as far as editing goes every week. This week I do what I normally do as far as warming a photo, softening skin, running boost action. This week I ran the vintage action and did some tweeking. I love the finished result!
Enjoy!


fif8


Saturday, July 31, 2010

Before/After Blog-Hop [Sky]

To continue with more photo editing, here is a gorgeous photo of the sky here in Wyoming during sunset. I really wanted to bring the eye in on the colors of the sky because they were seriously this stunning!

Edited with lightroom and cs4.
Exif: canon rebel xsi: 50mm, f/2.8 ISO 100, 1/100th sec


Friday, July 30, 2010

Fix-it-Friday [7/30/10]

Its been awhile since I've participated in the fix it friday challenge, and I really do miss it! I'm ready to get back into the swing of things with photo challenges and editing. This photo was already great SOOC, and just needed a few minor adjustments to make it "pop". Enjoy!


Head on over to i heart faces for all the other photo edits.

Monday, June 7, 2010

Before/After Wesley @ the park

Its been awhile since I'm posted a before/after photo. This photo is of my son last week while we were at the park just before my camera snagged on my leg and landed on my lens and knocked the lens into 2 pieces.


I did a few things to this photo. First in lightroom I upped the exposure and added a bit of vibrance and clarity. Then in photoshop bumped the curves, added some warmth, and dodged/burned his eyes a tad, and then sharpened his eyes. Cropped it a bit and thats it!

Friday, May 7, 2010

Before/After Blog Hop - [Ponytail]

This is my first entry!!! I love iheartfaces fix it friday, but I wanted to be able to enter my own edits as well. I came across pixel perfect from another photography blog and was stoked to be able to do this weekly blog hop. I know I'm a day late but thats ok!!

Here is my photo this week. Yes this is my SON not daughter. I had to put it up in a ponytail..well because I thought it was CUTE =)


sooc


edited

Happy Friday!!!


Saturday, April 17, 2010

Fix-it-friday #6


Last week we had a break. It was nice to step away from the computer for awhile, but I'm glad to be back editing photos again!


Here is the Original
fif-6-original

Edit 1
First I went into lightroom and adjusted the white balance, and exposure. Then went into photoshop cs4 and dodged and burned the eyes, ran coffeeshops baby powder skin action, and touched up all the necessary areas, then added a bit of warmth, cuves, color balance, and then ran pioneer womans sharpen this action and sharpened her eyes.
Cropped to a 5x7.
fif-6-edit1

Edit 2 - 70s Vintage
Ran pioneer womans seventies action. Adjusted opacity
fif-6-edit2

Edit 3 - Heartland
Ran pioneer womans heartland action.
Bumped the curves for more contrast.
fif-6-edit3

Edit 4 - B&W
Ran TRA bitchin b&w action. Adjusted curves.
fif-6-edit4

I had a lot of fun doing this yesterday!I love her eyes. Shes such a gorgeous girl! Hope you like them.

Wednesday, April 7, 2010

Mystery Monday - perfect skin tutorial

Since I forgot to post mystery monday on monday here is the delayed post. I decided to edit a really ugly photo of myself and show you a step by step tutorial on what I did to make it look better.

I chose this picture because
1) I wanted to show you the things I've been learning recently as far as editing techniques go. and
2) That this is what I look like without make up, a close up to see all the imperfections, but its a real photo and this is me so I shouldn't be ashamed.


Here is the original

As you can see all of my pores are visible, I have some stuff on my lips, and have some blemishes, and my eyebrows need trimmed.

original


Step 1
Here I ran the perfect skin action from coffeeshop.
What I really like about this action is it gives me the flexibility to edit it myself and its not already done for you. This lets me touch up the parts I need to.
So for this first step I used the eyedropper tool and picked a nice area of my skin and then clicked it. Then I got a brush tool and set the opacity down to about 20% and brushed over my skin.
step1

Step 2
For this next step I used the same brush and made sure the color was set to white and then brushed over my skin to make it smooth and adjusted the opactity of the layer as needed.
step2

Step 3
I finished the action, brushing a glow on my skin and skipped the lightening the skin because it was already light. I touched up my eyes and lightened them a bit, used the patch tool to get rid of ugly blemishes, the stuff on my lips, and to erase some of the unibrow eyebrow hairs.
step3

Step 4
I then decided to boost my eyes a bit more and to warm the photo up. I ran the warming action and reduced the opacity down to about 30%. To boost the color in my eyes I used a quick mask and selected just the eyes, added that to a new layer and then used color balance to adjust as needed.
So the photo is pretty much done now. And it looks so much better than the original.
step4

But I decided that I wanted to run the 70s action from pioneer woman. I adjusted the opacity of the layer a bit.
step5

And then ran the vintage action from pioneer woman and adjusted the vignette layer opacity.
step6

I also use cs4 for all of my editing.

Enjoy!

Saturday, April 3, 2010

Fix-it-friday #5


What a darling little girl. Here are my fix its for this week. Hope you like them! Will post instructions on what I did tomorrow. Well its already tomorrow so after I get up! =P


Original
fif-5-original

Edit #1 - color pop
fif-5-color pop

Edit #2 - 70's faded
fif-5-70s

Edit #3 - heartland
fif-5-heartland

Edit #4 - B&W
fif-5-edit4

Saturday, March 27, 2010

Fix-it-friday #4


Original

Edit #1
Adjusted exposure, curves, brightness, clarity.
Sharpened a bit.
Dodged and burned the eyes.

Edit #2
Same edits and 1st but just lightened a bit more

Edit #3
The famous seventies action. Adjusted to personal likings

Edit #4
same edits as above
BW beauty action - Pioneer woman
boost action
adjusted boot opacity


This was fun! What a goregous little girl and her brown eyes are AMAZING =)

Hope you like them!!

Check out all the other amazing fixes over @ iheartfaces


Friday, March 12, 2010

Fix-it-friday #3


Original

Edit #1
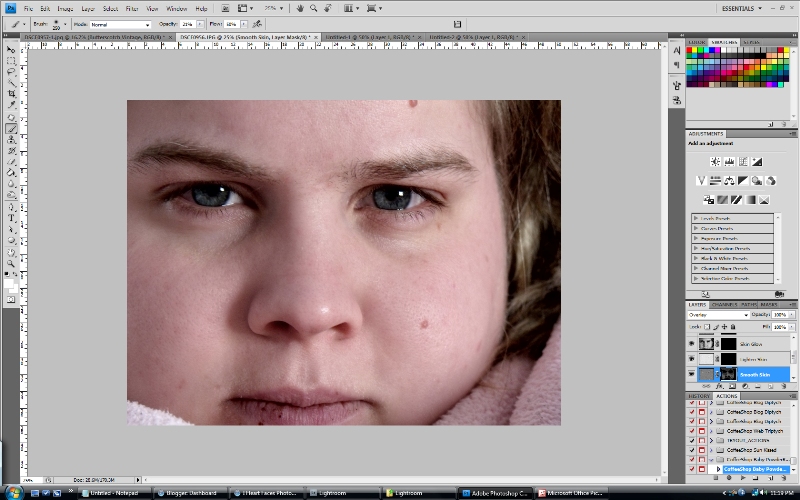
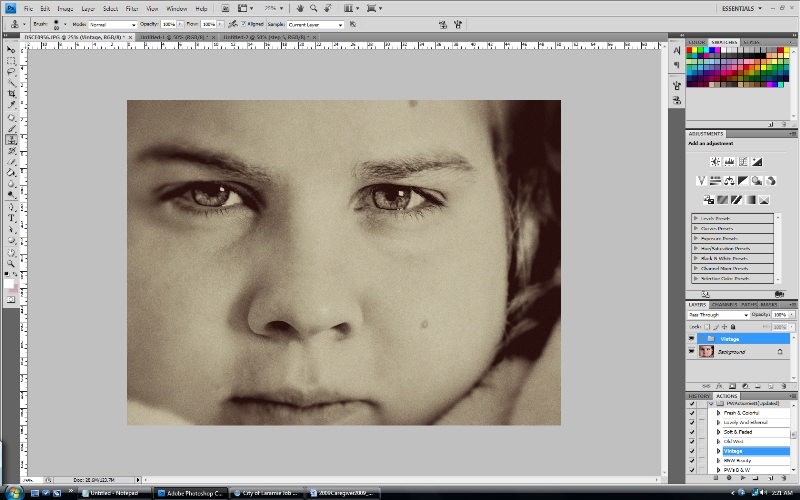
Levels and curves adjustment.
Dust and scratches: only used a 1.0
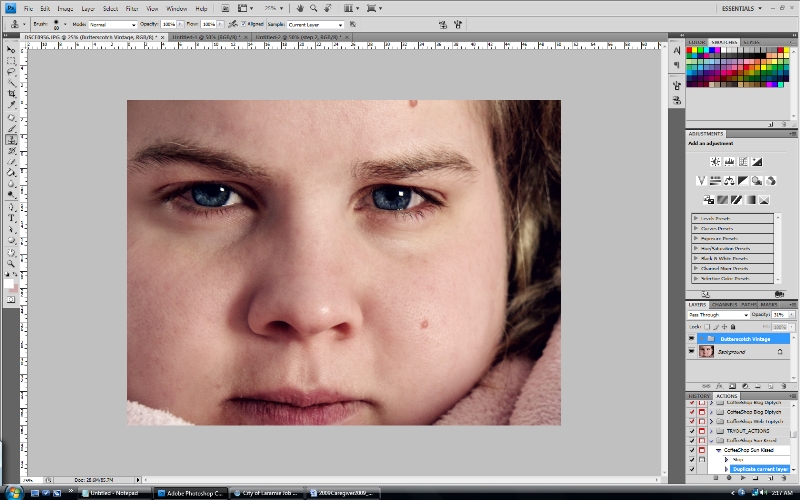
Ran the Old west action from PW and adjusted that.
A touch of cropping, and trying to clone the arm? or shirt that was in the way so it would be less distracting.
The little girl has such cute cheeks, lips and eyes and I wanted those not to be hidden by the underexposed photo.
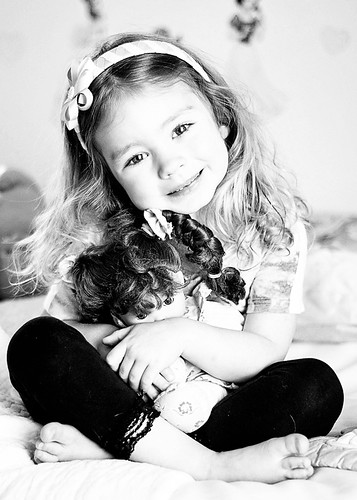
But I wasn't completely set on this photo because the eye colors really seemed off so I did a second edit but just changed the coloring a bit. (edit 2)
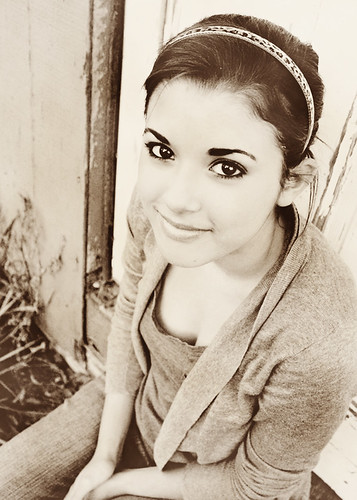
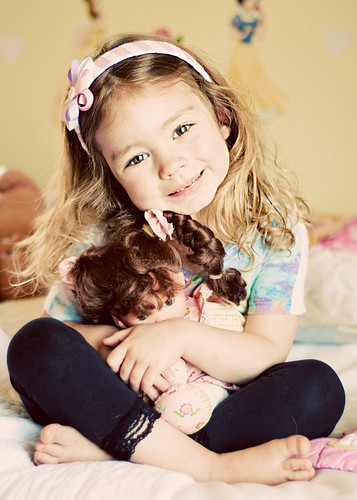
Edit #2
I kept all of the edits the same as the first photo except I changed the colors a bit. Reduced the greens so the little girl would stand out more than the background. Boosted the reds a bit.
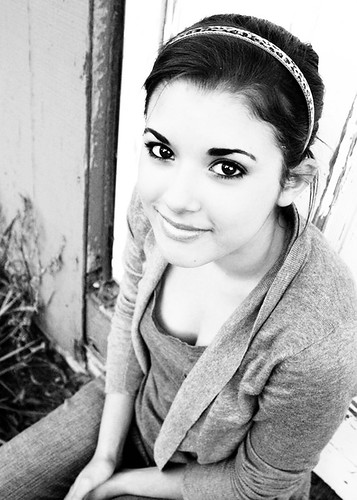
Edit #3
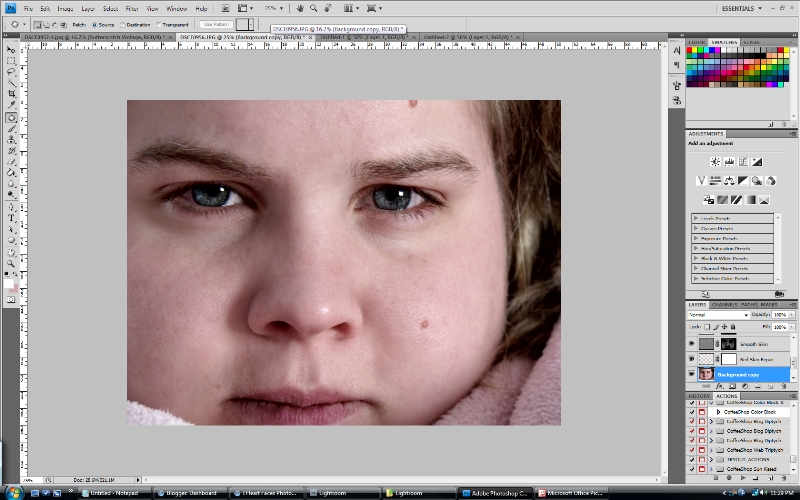
Levels adjustment, curves and dodged eyes a bit, ran dust and scratches.
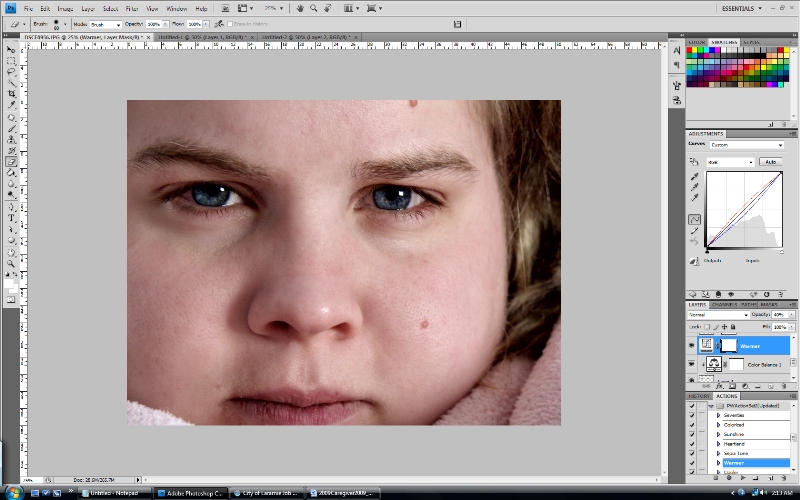
Ran PW heartland action. Ran curves again to darken a bit and sharpened slightly.

I do all of my editing in lightroom and cs4. Mostly cs4 this time but edit 2 was done in both.

I hope you like them. It was a bit of a challenge this week but I still had a ton of fun!!

Check out other awesome edits over @ iheartfaces.

Friday, March 5, 2010

Fit-it-Friday #2 ♥

Once again its that time of the week again where we fix a photo @ iheartfaces.

Problem:
"having issues with overexposure in the top left corner and with blemishes on his face."

Original

Solution:
Using CS4
  1. Copied the background layer & did a mask around the areas I didn't want lightened.
  2. Curves adjustment on the area of the boy that was too dark. Did a slight blur on the masked area to smooth the edges.
  3. Color fill adjustment layer to a nice medium blue and changed the opacity of the layer to overlay. Erased everything but the sky area. Slight blur on masked area to smooth edges. Changed layer opacity to liking.
  4. Flatten image
  5. Unsharp mask. 30%, radius 3.6, threshold 0.
  6. Copied background layer, surface blur, erased everything but facial features I wanted to keep smooth.
  7. Patch tool to remove blemishes.
  8. Flatten, dodged the eyes a little bit.
  9. PW warming action
  10. Flatten again, up the vibrance, up the contrast a bit
  11. Masked everything but the hair, and sharpened that a bit more. Using the clone tool, touched up the overexposed area on hair. Reduced the opactity to look realistic. Minor curves adjustment again and am finished.

Wanted to keep the photo bright and warm. Hope you like it!


First edit

Second edit
I did all of the above changes and then ran the seventies action and adjusted as needed. I'm in ♥ with the seventies action. Its totally my signature style. But I love the richness of the 1st edit too =)


Saturday, February 27, 2010

Fix-it-friday #1


I know its Saturday but I haven't had a chance to upload these until now.
This is my first fix it friday. This is a great opportunity to work on editing skills and learning new things!


Here is the original photo.

First edit
In photoshop
Doubled the layer and upped the curves for the face.
Erased the over exposed areas.
Copied the background layer again and then set it to overlay and brought down the curves to bring out the blueness of the sky.
Added a bit of texture
Unsharp mask on just the little girl layer a bit.
Added pioneer womans 70s action, but turned the opacity down to about 40%
enhanced the eyes with dodge & burn

Second edit
Same edits as first but went into lightroom and added the golden sun preset and adjusted a bit.
Also smoothed her skin and removed the blemishes from the elbows to make her look even more beautiful :)

I can completely feel the warmness of the sun in the last photo.
Hope you like them!

Check out the rest of the amazing edits over at iheartfaces

Contact:

Phone: (307) 760-0550
Related Posts with Thumbnails

Grab My Buttons

button

holbert button

FEEDJIT Live Traffic Feed

Search This Blog

Become a Facebook Fan

Google Friend Connect

wibiya widget

FEEDJIT Live Traffic Map

  © Jenilee Holbert