


Mystery Monday - perfect skin tutorial
Since I forgot to post mystery monday on monday here is the delayed post. I decided to edit a really ugly photo of myself and show you a step by step tutorial on what I did to make it look better.
I chose this picture because
1) I wanted to show you the things I've been learning recently as far as editing techniques go. and
2) That this is what I look like without make up, a close up to see all the imperfections, but its a real photo and this is me so I shouldn't be ashamed.
As you can see all of my pores are visible, I have some stuff on my lips, and have some blemishes, and my eyebrows need trimmed.
Step 1
Here I ran the perfect skin action from coffeeshop.
What I really like about this action is it gives me the flexibility to edit it myself and its not already done for you. This lets me touch up the parts I need to.
So for this first step I used the eyedropper tool and picked a nice area of my skin and then clicked it. Then I got a brush tool and set the opacity down to about 20% and brushed over my skin.

Step 2
For this next step I used the same brush and made sure the color was set to white and then brushed over my skin to make it smooth and adjusted the opactity of the layer as needed.
Step 3
I finished the action, brushing a glow on my skin and skipped the lightening the skin because it was already light. I touched up my eyes and lightened them a bit, used the patch tool to get rid of ugly blemishes, the stuff on my lips, and to erase some of the unibrow eyebrow hairs.
Step 4
I then decided to boost my eyes a bit more and to warm the photo up. I ran the warming action and reduced the opacity down to about 30%. To boost the color in my eyes I used a quick mask and selected just the eyes, added that to a new layer and then used color balance to adjust as needed.
So the photo is pretty much done now. And it looks so much better than the original.
But I decided that I wanted to run the 70s action from pioneer woman. I adjusted the opacity of the layer a bit.
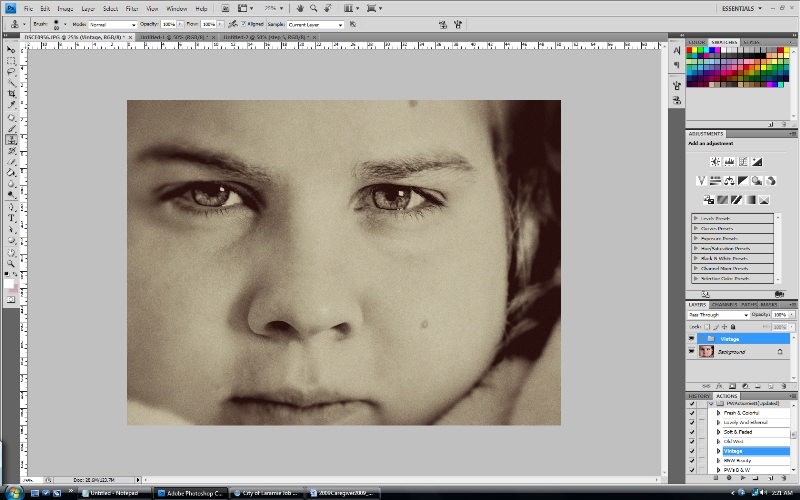
And then ran the vintage action from pioneer woman and adjusted the vignette layer opacity.
I also use cs4 for all of my editing.
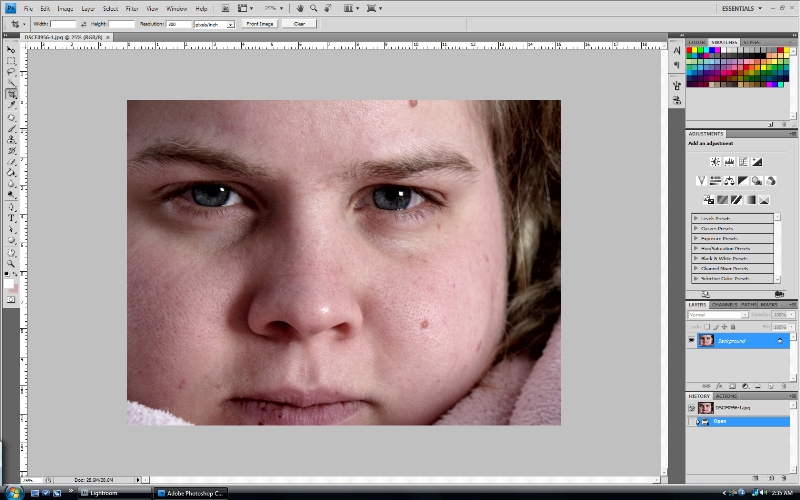
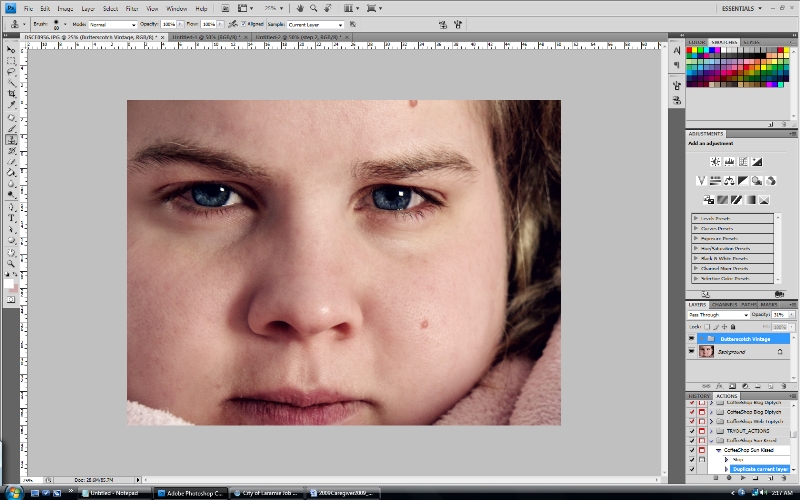
Here is the original
As you can see all of my pores are visible, I have some stuff on my lips, and have some blemishes, and my eyebrows need trimmed.
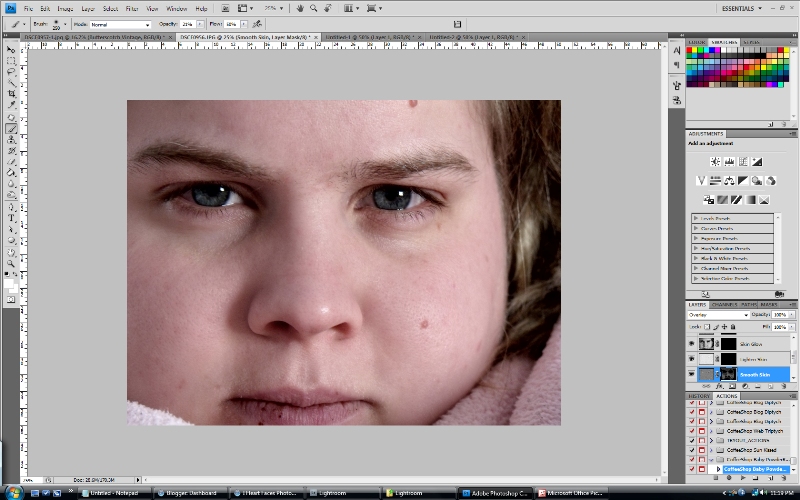
Step 1
Here I ran the perfect skin action from coffeeshop.
What I really like about this action is it gives me the flexibility to edit it myself and its not already done for you. This lets me touch up the parts I need to.
So for this first step I used the eyedropper tool and picked a nice area of my skin and then clicked it. Then I got a brush tool and set the opacity down to about 20% and brushed over my skin.
Step 2
For this next step I used the same brush and made sure the color was set to white and then brushed over my skin to make it smooth and adjusted the opactity of the layer as needed.
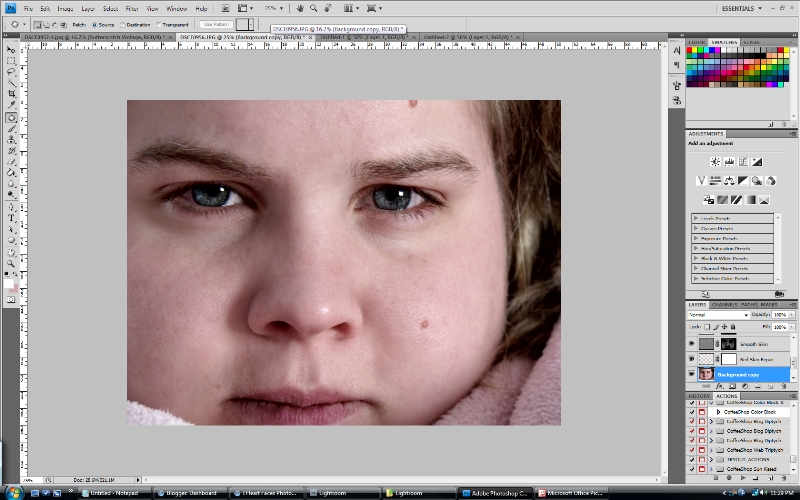
Step 3
I finished the action, brushing a glow on my skin and skipped the lightening the skin because it was already light. I touched up my eyes and lightened them a bit, used the patch tool to get rid of ugly blemishes, the stuff on my lips, and to erase some of the unibrow eyebrow hairs.
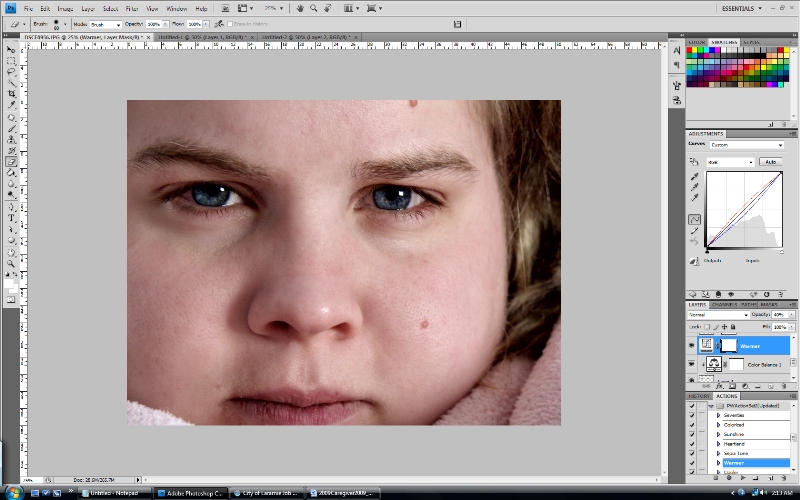
Step 4
I then decided to boost my eyes a bit more and to warm the photo up. I ran the warming action and reduced the opacity down to about 30%. To boost the color in my eyes I used a quick mask and selected just the eyes, added that to a new layer and then used color balance to adjust as needed.
So the photo is pretty much done now. And it looks so much better than the original.
But I decided that I wanted to run the 70s action from pioneer woman. I adjusted the opacity of the layer a bit.
And then ran the vintage action from pioneer woman and adjusted the vignette layer opacity.
I also use cs4 for all of my editing.
Enjoy!


0 comments:
Post a Comment