Saturday, August 7, 2010
Saturday, July 31, 2010
Before/After Blog-Hop [Sky]
Posted by Jenilee at 1:05 AM 0 comments
Labels: Before-After, Before-After Blog Hop, Photo Editing
Monday, June 7, 2010
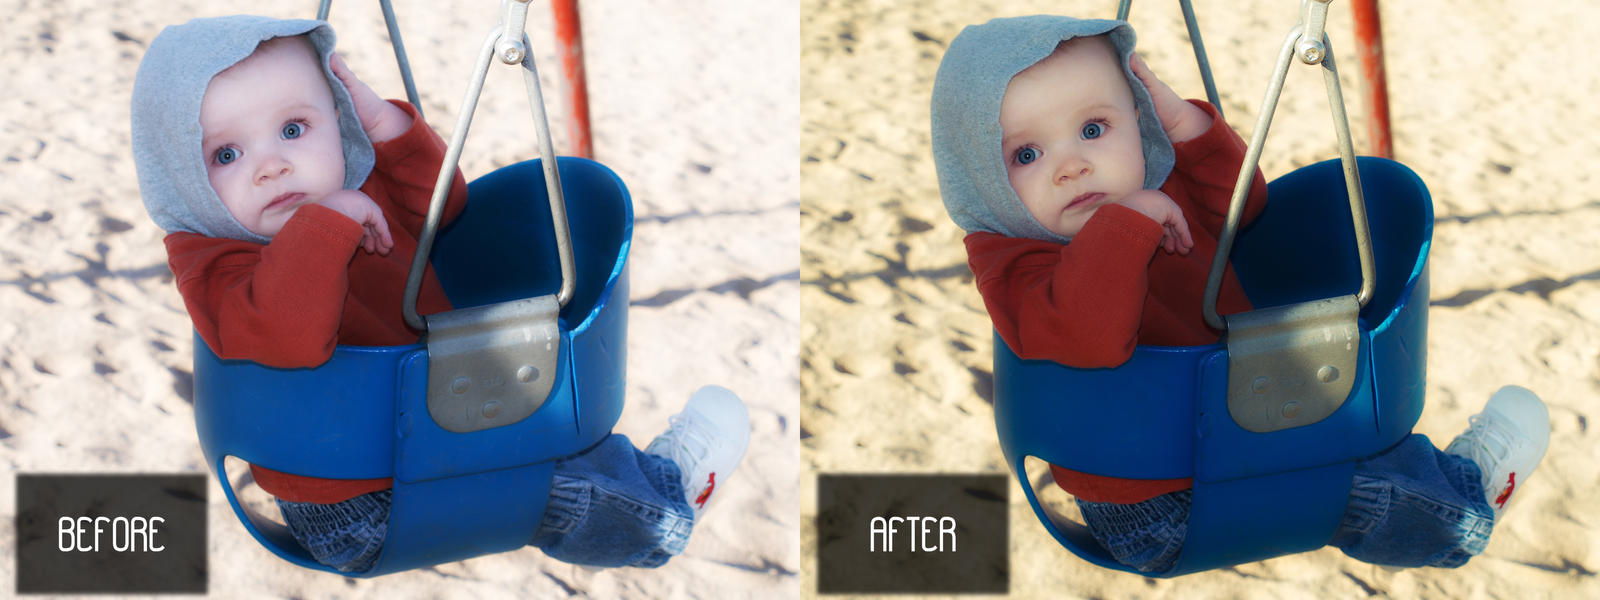
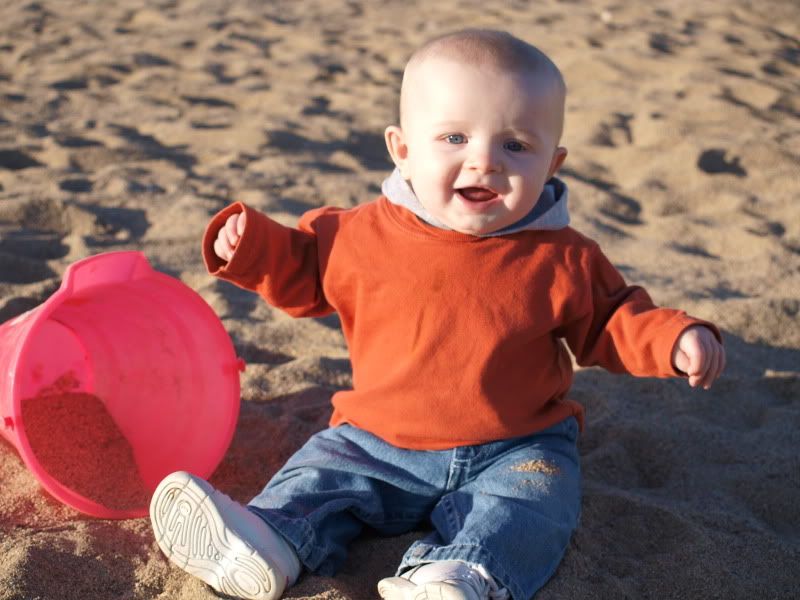
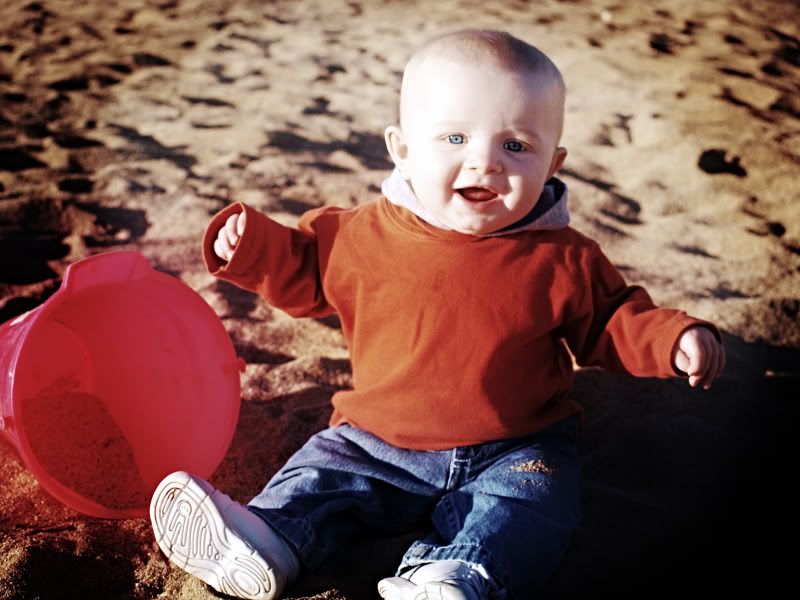
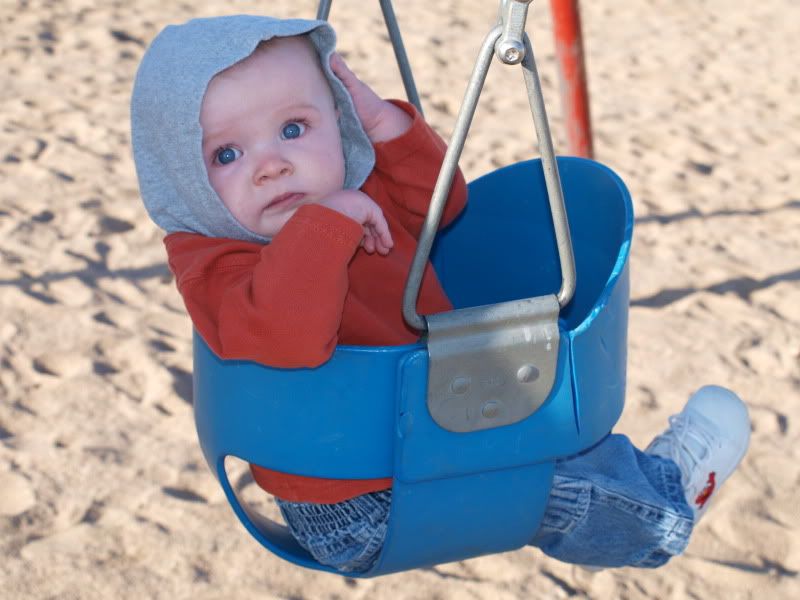
Before/After Wesley @ the park
I did a few things to this photo. First in lightroom I upped the exposure and added a bit of vibrance and clarity. Then in photoshop bumped the curves, added some warmth, and dodged/burned his eyes a tad, and then sharpened his eyes. Cropped it a bit and thats it!
Posted by Jenilee at 2:52 PM 0 comments
Labels: Before-After, Children, My Life, Photo Editing
Friday, May 7, 2010
Before/After Blog Hop - [Ponytail]
Posted by Jenilee at 1:59 AM 3 comments
Labels: Before-After, Before-After Blog Hop, Photo Editing
Saturday, April 17, 2010
Fix-it-friday #6
Posted by Jenilee at 10:41 AM 5 comments
Labels: Before-After, Fix-It-Friday, Photo Editing
Wednesday, April 7, 2010
Mystery Monday - perfect skin tutorial
Since I forgot to post mystery monday on monday here is the delayed post. I decided to edit a really ugly photo of myself and show you a step by step tutorial on what I did to make it look better.
As you can see all of my pores are visible, I have some stuff on my lips, and have some blemishes, and my eyebrows need trimmed.
Step 1
Here I ran the perfect skin action from coffeeshop.
What I really like about this action is it gives me the flexibility to edit it myself and its not already done for you. This lets me touch up the parts I need to.
So for this first step I used the eyedropper tool and picked a nice area of my skin and then clicked it. Then I got a brush tool and set the opacity down to about 20% and brushed over my skin.
Step 2
For this next step I used the same brush and made sure the color was set to white and then brushed over my skin to make it smooth and adjusted the opactity of the layer as needed.
Step 3
I finished the action, brushing a glow on my skin and skipped the lightening the skin because it was already light. I touched up my eyes and lightened them a bit, used the patch tool to get rid of ugly blemishes, the stuff on my lips, and to erase some of the unibrow eyebrow hairs.
Step 4
I then decided to boost my eyes a bit more and to warm the photo up. I ran the warming action and reduced the opacity down to about 30%. To boost the color in my eyes I used a quick mask and selected just the eyes, added that to a new layer and then used color balance to adjust as needed.
So the photo is pretty much done now. And it looks so much better than the original.
But I decided that I wanted to run the 70s action from pioneer woman. I adjusted the opacity of the layer a bit.
And then ran the vintage action from pioneer woman and adjusted the vignette layer opacity.
I also use cs4 for all of my editing.
Posted by Jenilee at 10:51 AM 0 comments
Labels: Before-After, Mystery Monday, Photo Editing
Saturday, April 3, 2010
Fix-it-friday #5
What a darling little girl. Here are my fix its for this week. Hope you like them! Will post instructions on what I did tomorrow. Well its already tomorrow so after I get up! =P
Original
Edit #1 - color pop
Edit #2 - 70's faded
Edit #3 - heartland
Edit #4 - B&W
Posted by Jenilee at 12:48 AM 0 comments
Labels: Before-After, Fix-It-Friday, Photo Editing
Saturday, March 27, 2010
Fix-it-friday #4

Posted by Anonymous at 10:52 AM 2 comments
Labels: Before-After, Fix-It-Friday, Photo Editing
Friday, March 12, 2010
Fix-it-friday #3

Posted by Anonymous at 10:45 PM 0 comments
Labels: Before-After, Fix-It-Friday, Photo Editing
Friday, March 5, 2010
Fit-it-Friday #2 ♥
Once again its that time of the week again where we fix a photo @ iheartfaces.
Solution:
Using CS4
- Copied the background layer & did a mask around the areas I didn't want lightened.
- Curves adjustment on the area of the boy that was too dark. Did a slight blur on the masked area to smooth the edges.
- Color fill adjustment layer to a nice medium blue and changed the opacity of the layer to overlay. Erased everything but the sky area. Slight blur on masked area to smooth edges. Changed layer opacity to liking.
- Flatten image
- Unsharp mask. 30%, radius 3.6, threshold 0.
- Copied background layer, surface blur, erased everything but facial features I wanted to keep smooth.
- Patch tool to remove blemishes.
- Flatten, dodged the eyes a little bit.
- PW warming action
- Flatten again, up the vibrance, up the contrast a bit
- Masked everything but the hair, and sharpened that a bit more. Using the clone tool, touched up the overexposed area on hair. Reduced the opactity to look realistic. Minor curves adjustment again and am finished.
Wanted to keep the photo bright and warm. Hope you like it!
Posted by Anonymous at 1:34 AM 2 comments
Labels: Before-After, Fix-It-Friday, Photo Editing
Saturday, February 27, 2010
Fix-it-friday #1
Doubled the layer and upped the curves for the face.
Unsharp mask on just the little girl layer a bit.
Also smoothed her skin and removed the blemishes from the elbows to make her look even more beautiful :)
Posted by Anonymous at 8:05 PM 1 comments
Labels: Before-After, Fix-It-Friday, Photo Editing
Tuesday, October 27, 2009
Lets try again...
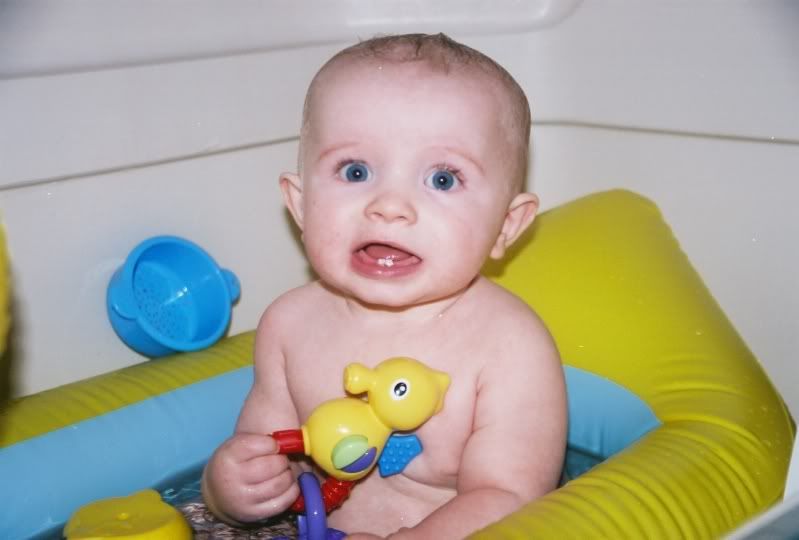
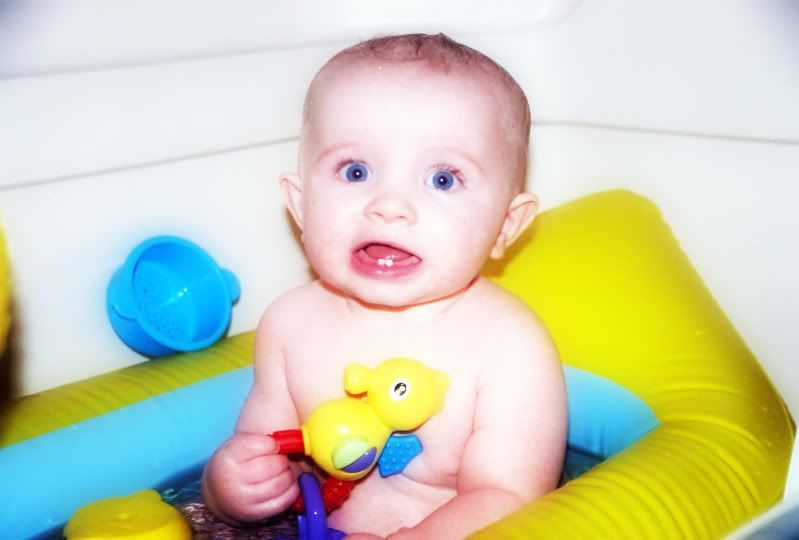
I had recently gotten feedback on some of my photos being too bright and a bit harsh on the eyes. So I did an enhancement on one of the photos I posted earlier. Wanted to know if this warming effect works better. I think so. I really love it. Did a few other minor things but mainly just decreased exposure and warmed the photo.
Thanks Anais for the feedback!
Posted by Anonymous at 10:23 PM 1 comments
Labels: Before-After, Children, Photo Editing
Wednesday, October 21, 2009
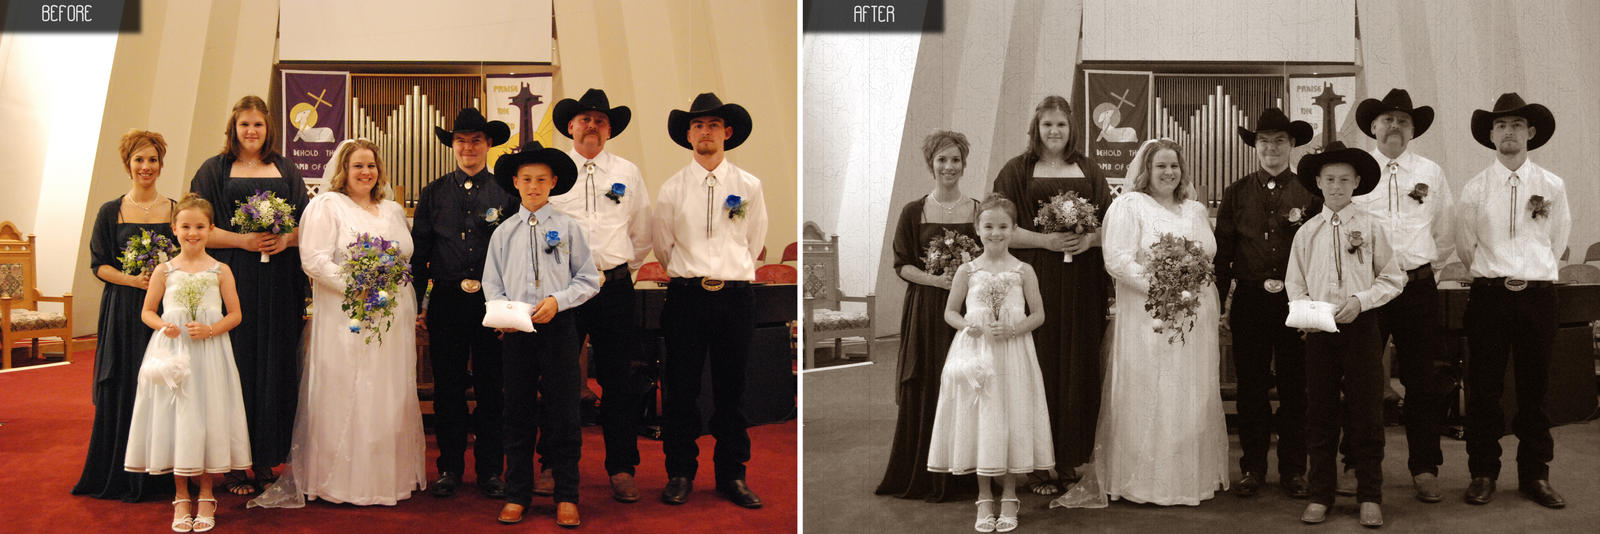
Back to the Old West
I did not take this photo. It was one of my wedding photos. The womens dresses were a very beautiful navy blue but you can't really tell this. Same with my husbands shirt; navy blue.
Photography is 90% skill, 10% equipment.
Since there wasn't a lot of improving I could do to this photo to make it look better, I made it look like an old western photo. With the cowboy getup it fits.
What do you think?
Posted by Anonymous at 9:39 AM 0 comments
Labels: Before-After, Photo Editing
Smooth as ice
I wanted to show a little of what I can do as far as photo editing goes. Smoothing skin, editing blemishes, brightening eyes and teeth and doing it in a way that is not un-natural.
What do you think??
Click Image to see full view
Posted by Anonymous at 1:12 AM 2 comments
Labels: Before-After, Photo Editing
Monday, October 12, 2009
Photoshop is good for the soul...
Posted by Anonymous at 1:30 AM 1 comments
Labels: Before-After, Children, Photo Editing